Showing posts with label bella besties. Show all posts

Saturday, November 30, 2019

Fuzzy Bunny / Bella Blvd DT

Good morning everyone!
Sarah here this morning to share a new layout with you for Bella Blvd. This week we were to find different ways to journal on our layouts. For me this was a bit hard because I don't usually journal on the front of my layouts. I usually write on the back of my layout or on a piece of paper and stick it to the back of my layout. I'm not big on my hand writing.
So, when I decided to do this layout, I thought that I would journal on the leaves. But I decided against that when I started folding them and adding the gold around the edges. It got to messing. But looking back on t now, I think that would have really worked.lol Maybe next time, hu?
Well I started this layout with a white background and started playing with some gold spray, while I let the background dry, I decided to add some more gold to all the leaves I had already cut out. I chose leaves because they felt like fall, but the colors were still fantastically bright, so I went with it.
I didn't add any layering behind my photo when I put it on my background. I wanted the leaves to be the embellishments on the layout.So once I had my photo down, I started to layer sliding the leaves under the sides of the photo. Once I had the first layer where I wanted them, I stuck them down and started on the next layer. Placing them here and there, till I was happy with how they looked and stuck them down and moved to the next layer, until I had them all down.

I liked the look of the gold spray on the background showing threw, so I played along those lines to do my journaling. Like I said, this inst something I normally do, so I thought keeping it small and not clustered together might make it easier on me.

  When I had my journaling done, I added my title with two different colors of Florence alphas. Just a simple title, Fuzzy bunny. The I remembers some of the extra pretties that go along with the Squeeze the day collection and I pulled them out too! I love the epoxy hearts and matte enamel dots, I don't think I could ever have enough of them. If I didn't watch myself I would have already used them all! Like I said, I pulled those out and started placing some of them in the centers of some of my leaves and tucking some here and there under other leaves.
I decided at this point that I wanted there to be something other than just a while background, so I decided to do a bit of ripping and cutting of the sides of the white cardstock, ruffle it up some and add a piece of Bella Besties behind it. I went with the gulf color, I mean blue is one of my favorite colors,lol. And then I was done. I hope you enjoyed this layout!

Squeeze the day collection: 6x6  paper pad, Doohickey sticker sheet, Epoxy hearts, Matte enamels-Fruity mix
Bella Besties freehand:
 6x6 paper pad, 12x12 Graph and dots-Gulf
Florence Alpha Stickers: Punch, Black


Friday, September 6, 2019

Sweet sweet summer / Bella Blvd

Good morning everyone!!
I'm here this morning sharing a new layout that I made with the new Squeeze the day collection from Bella Blvd. 
This week my assignment was to scrapbook summer memories. And that's just what I did with this goofy picture of my daughter.
 We have a summer tradition of going to our local zoo every summer, sweating down like crazy while walking around looking at the animals and stopping at every mister around the zoo as we go lol. So by the end we look completely sloppy, but we have had a blast with each other

I started my layout with a sheet of white cardstock, I had already decided I wanted to go for a grid design, so I chose a few patterned paper from the Squeeze the day collection and the Bella Besties collection. I laid them out on my layout and pulled out the ephemera words and icons from the Squeeze the day collection.

I have been eyeing all the cute little rainbows in this collection and I thought this would be a great layout to use them on. I pulled a bunch of the rainbows from the packs, some from the sticker sheet and a few tags along with those and started layering them in the squares.

 
Once I had everything layered on the separate squares, I went to ruffling all the edges up and adding 3D foam adhesive and popping a few things up. I pulled some crape paper from my scrappy stash and added some coming out from under one of the rainbows, around one of the scalloped circle stickers and to the left, behind my photo. I thought it added some good texture. I thought there was to much white and there was enough room to cut it off and add a pop of something else. I pulled some papers from Bella besties, laid them behind my layout till I decided on one. I cut 3 of the sides down and added my Punch paper to the left of my layout and was done.

Squeeze the day collection: 6x6 paper pad, Daily Details 12x12 paper, Ephemera Icons, Ephemera Words, Doohickey sticker sheet, Ciao Chip icons
Bella Besties collection: 6x6 paper pad, Graph and dot 12x12 Punch paper

Monday, August 26, 2019

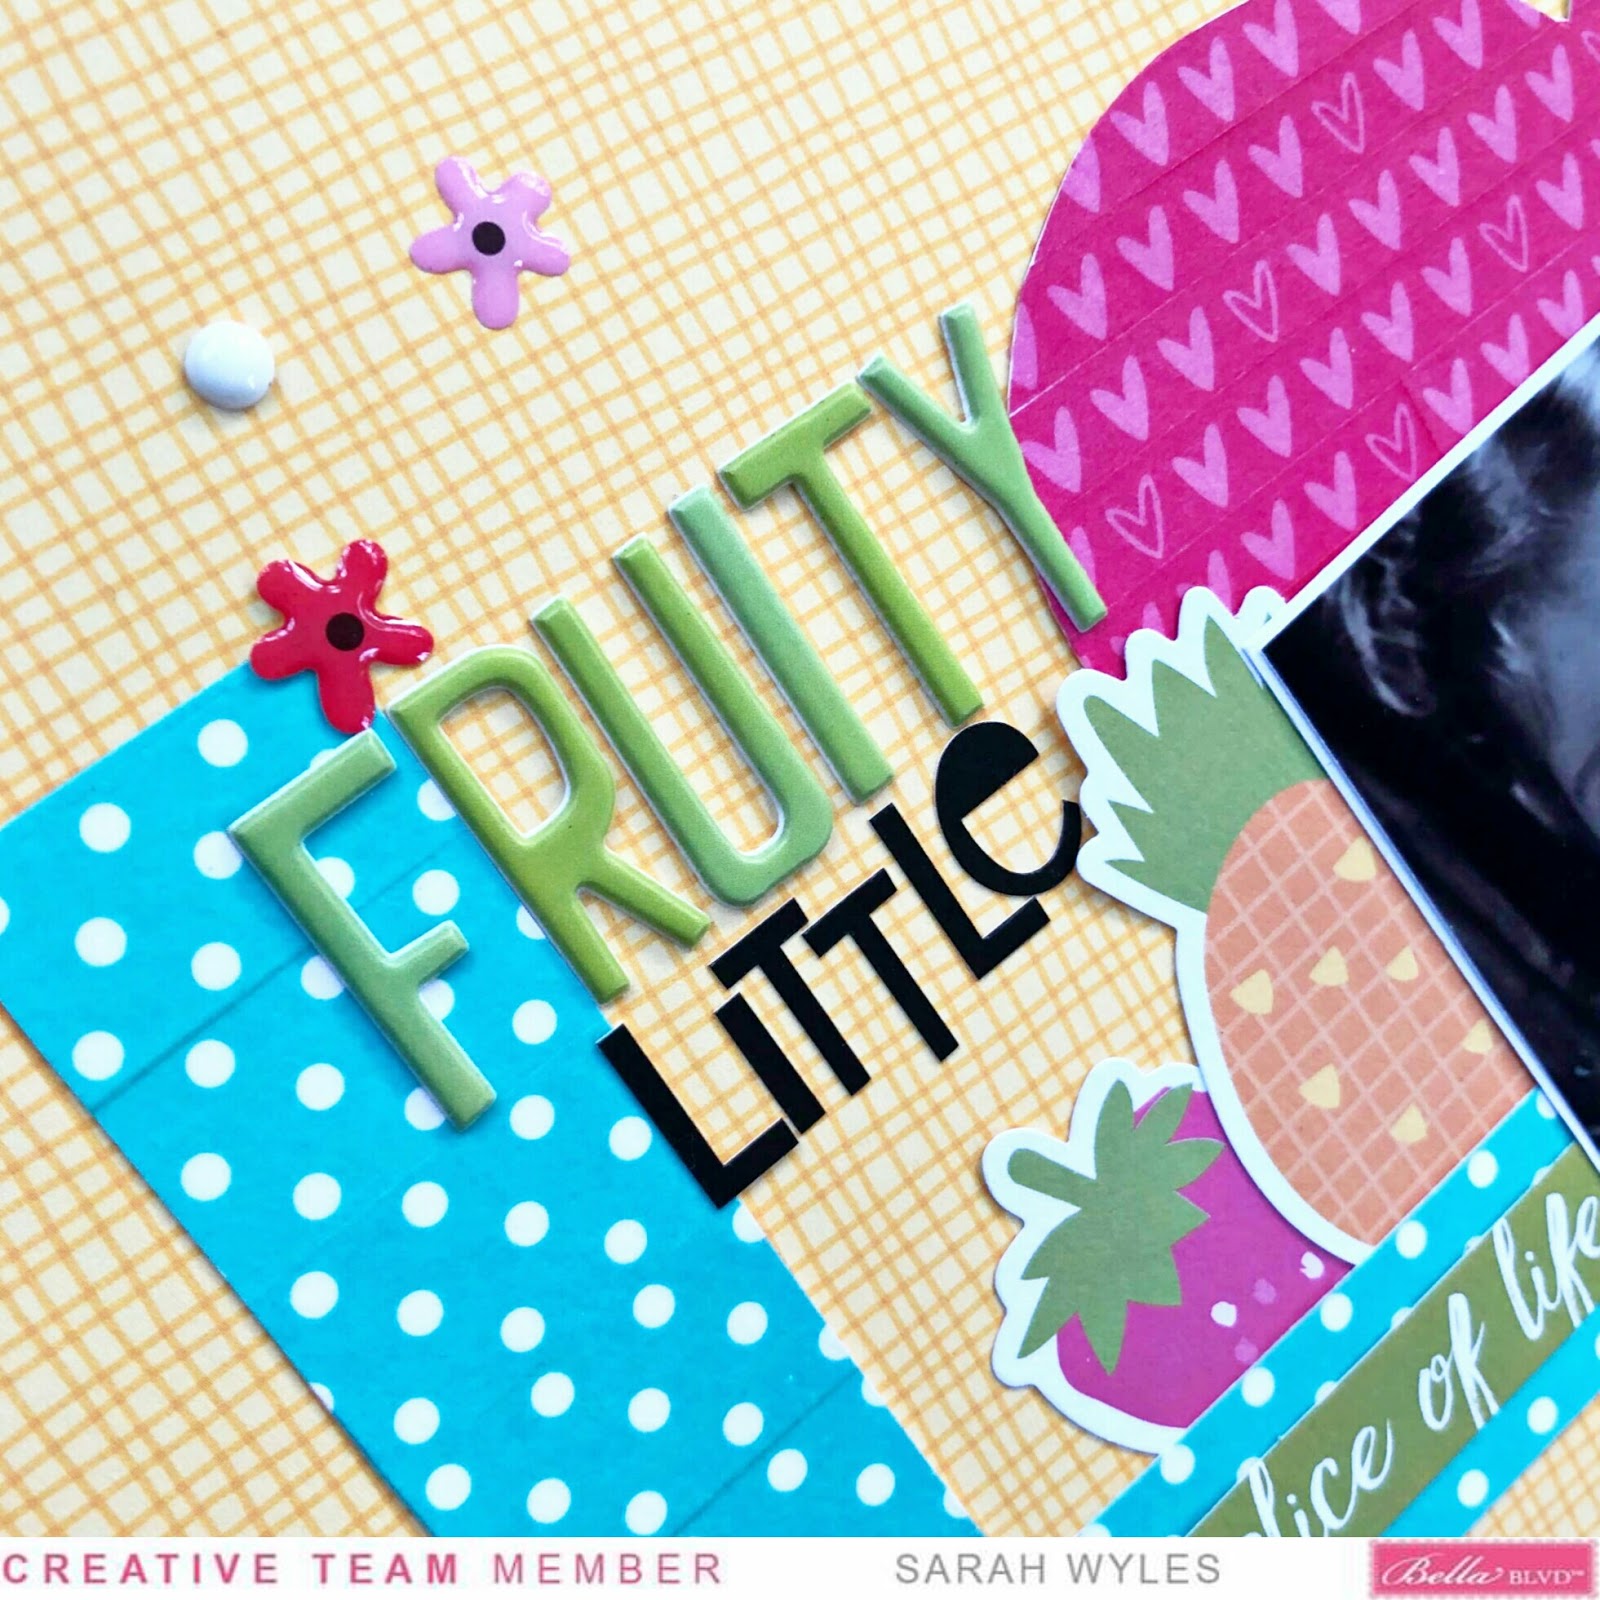
Fruity little love / Bella Blvd DT

Good morning everyone!!
Today I'm sharing a layout with you for the Bella Blvd design team and my assignment this week was to use at least 4 different washi tapes on a layout. My problem was finding just 4 lol.
Well I finally found the 4 that I wanted to use, I already had an idea of what I wanted to do, so I cut out a cut-file and then went to covering it with the washi tapes I had chosen. I used some of the new ones from the Squeeze the day collection and a few others I had in my stash of Bella goodies. 
I grabbed the Bella Besties and went through them, trying to find just the right color for my background and landed on bell pepper. I loved the brightness it brought to the layout and I wanted this layout to be fun and bright, just like my little goofy girl in the pictures. 
I laid my cut-file on the background I had chose, backed my photos and then decided I wanted something to the right of my layout, a way to use another washi. So I grabbed one of my punched and cut a boarder down the side and laid a few strips of break rules washi and attached it to the bell pepper paper. 
Once I did that, I backed my photos with some white cardstock, tucked them into my cut-file and then went to playing with all the fun embellishments that came along with the Squeeze the day collection
I tucked some of the fruit ephemera around the layout, making little clusters and then moved on to the word ephemera and added bits and pieces of those around the layout as well. 
I pulled some of the Heart hugs out and used some of the enamel dots off the sheet and placed them around the layout, played with a few of the stickers from the Doohicky sticker sheet and then jumped into the ciao chips and epoxy icons.
Those are just so stinking cute!! I pulled some of the Florence and Wonky alphas and finished off my title and was finished with the layout!
I cant wait to play even more with this collection! Its so bright and playful and there are so many things you can do with it!  
I hope you come back and check out what I get up to with this collection and others from Bella, you can check me out on instagram too, to see more of what I do!


Squeeze the day collection: Ephemera Icons, Ephemera words, Doohicky sticker sheet, Ciao Chip icons, Epoxy Icons, Fresh and Fab washi, Sweetness washi
Ice dot washi, Break rules washi
Bella Besties Graph and Dot: Bell Pepper
Heart Hugs: Black and white
Florence alphas: Black
Wonky alphas: Pickle Juice


Thursday, August 8, 2019

Explore, Happy, Play / Bella Blvd DT

Good morning everyone!!
I'm going to be sharing a layout with Bella Blvds new Squeeze the day collection!! I mean, this collection is so amazing and fresh! I just love it!!


Good morning everyone!!
PicsArt_07-31-02.56.05
Ok not only do I love the new Squeeze the day collection, with its bright colors and happy patterns, but I really have a thing for the bella invisables! I think I may have one or two left, I love them added in as a layer on a layout. This one was a calendar, but you dont have to use it that way at all. I just love the way it adds more to the background.
PicsArt_07-31-02.59.40
 I started with a Bella Besties for my background. I knew I wanted to use the invisible on my background too, so I actually started building my layout on it, before ever sticking anything to my background paper. I figured that doing it this way, I would be able to build my layout and then decided on what color I wanted the background to be, what complimented my layout.
I started with my pictures. I had three for this layout, I just had to decide if I wanted them to go vertical or horizontal. I ended up deciding to have them go with them horizontal. I backed each photo with a different patterned paper and then decide I wanted a patterned paper running behind my photos. And I love rainbows! So I went with that, it had a lot of white and pops of all the colors in the collection, so anything from the collection would work!
PicsArt_07-31-02.58.25
Once I chose the rainbow picture, I popped two of my photos up on 3d foam and stuck them all down. Then came trying to decide what embellishments I was going to use. And if you haven't seen this  collection, OH WOW are there a ton of ephemera pieces, stickers and all the epoxy pieces!! So for me it was hard not to use everything!!
I chose some of the pieces I wanted to use, set them aside and pulled out my acrylic words. This week we were to use acrylic words on out layout. Well I chose three different ones to use. It was super easy to chose the words for my title too. We were at the zoo in these pictures and we had do much fun while we were there. My youngest daughter got to to ride the carousel for the first time and oh did she love it, she didn't want to get off it! One of my other daughters wasn't so sure about it though and she held on for dear life. But it was all so much fun.
PicsArt_07-31-02.56.50
I picked where I wanted my title to go, I started from the top with the largest word and a white one, knowing that I had two white acrylic words and a green one, I decided to alternate them. So I placed them and started to embellish around my layout. I added a cluster up to the top left. I added some of the tags, epoxy fruit, ephemera heart and a sticker here and there. I did the same to the right of the photos and than down at the very bottom below the word play. Once I was happy with everything, I went through the Bella besties, sliding different colors behind my invisible, until I chose the ice color. I adheared everything to the background paper and was done.
Bella Supply
Bella Besties: Graph&Dot Ice
Squeeze the day collection: Sweet skies patterned paper, 6x6 paper pad, ephemera words, ephemera icons, doohicky sticker sheet, epoxy icons
Invisibles calendar
Acrylic words: Explore, Play
Acrylic word-Wish big: Happy 
Bella Blog bottom