Showing posts with label enamel hearts. Show all posts

Saturday, November 30, 2019

Fuzzy Bunny / Bella Blvd DT

Good morning everyone!
Sarah here this morning to share a new layout with you for Bella Blvd. This week we were to find different ways to journal on our layouts. For me this was a bit hard because I don't usually journal on the front of my layouts. I usually write on the back of my layout or on a piece of paper and stick it to the back of my layout. I'm not big on my hand writing.
So, when I decided to do this layout, I thought that I would journal on the leaves. But I decided against that when I started folding them and adding the gold around the edges. It got to messing. But looking back on t now, I think that would have really worked.lol Maybe next time, hu?
Well I started this layout with a white background and started playing with some gold spray, while I let the background dry, I decided to add some more gold to all the leaves I had already cut out. I chose leaves because they felt like fall, but the colors were still fantastically bright, so I went with it.
I didn't add any layering behind my photo when I put it on my background. I wanted the leaves to be the embellishments on the layout.So once I had my photo down, I started to layer sliding the leaves under the sides of the photo. Once I had the first layer where I wanted them, I stuck them down and started on the next layer. Placing them here and there, till I was happy with how they looked and stuck them down and moved to the next layer, until I had them all down.

I liked the look of the gold spray on the background showing threw, so I played along those lines to do my journaling. Like I said, this inst something I normally do, so I thought keeping it small and not clustered together might make it easier on me.

  When I had my journaling done, I added my title with two different colors of Florence alphas. Just a simple title, Fuzzy bunny. The I remembers some of the extra pretties that go along with the Squeeze the day collection and I pulled them out too! I love the epoxy hearts and matte enamel dots, I don't think I could ever have enough of them. If I didn't watch myself I would have already used them all! Like I said, I pulled those out and started placing some of them in the centers of some of my leaves and tucking some here and there under other leaves.
I decided at this point that I wanted there to be something other than just a while background, so I decided to do a bit of ripping and cutting of the sides of the white cardstock, ruffle it up some and add a piece of Bella Besties behind it. I went with the gulf color, I mean blue is one of my favorite colors,lol. And then I was done. I hope you enjoyed this layout!

Squeeze the day collection: 6x6  paper pad, Doohickey sticker sheet, Epoxy hearts, Matte enamels-Fruity mix
Bella Besties freehand:
 6x6 paper pad, 12x12 Graph and dots-Gulf
Florence Alpha Stickers: Punch, Black


Thursday, March 31, 2016

So excited!! Clique kits Guest designer!


Hello everyone!! I hope your week is going good, its almost Friday, So that has to be a plus!! lol.  I cant believe I'm guest designing for Clique Kits!! and oh man is this months kit so great!!
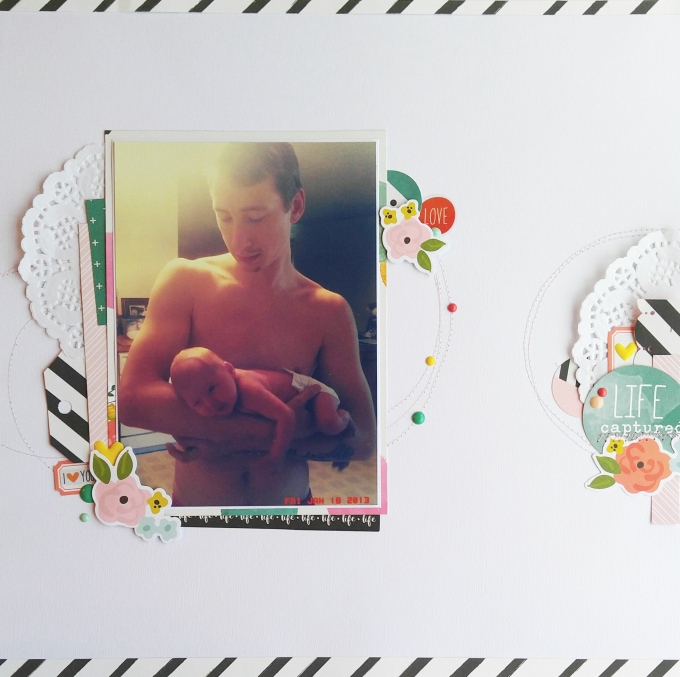
I created this layout with Aprils Origins kit. It is slammed pack  with the beautiful Simple Stories: Life in color!! There are bits and pieces from Carpe Diem.
IMG_20160330_153821
I started this layout by choosing my photo.
This photo is a few years old and has actually had a little bit of damage to it, but I love it! Our daughter use to love it when my husband would hold her life this, she was so small! 
I knew I wanted to use some of the softer colors on this layout and I was going to keep the photo in color and for me that might change my paper choice, but in this case, the colors in this kit worked so well with the picture it wasn't an issue. I started with the pretty Simple Stories: Carpe Diem, make it happen. That paper had all the colors I wanted to use in this layout, so for me it was the right place to start.
IMG_20160330_153858
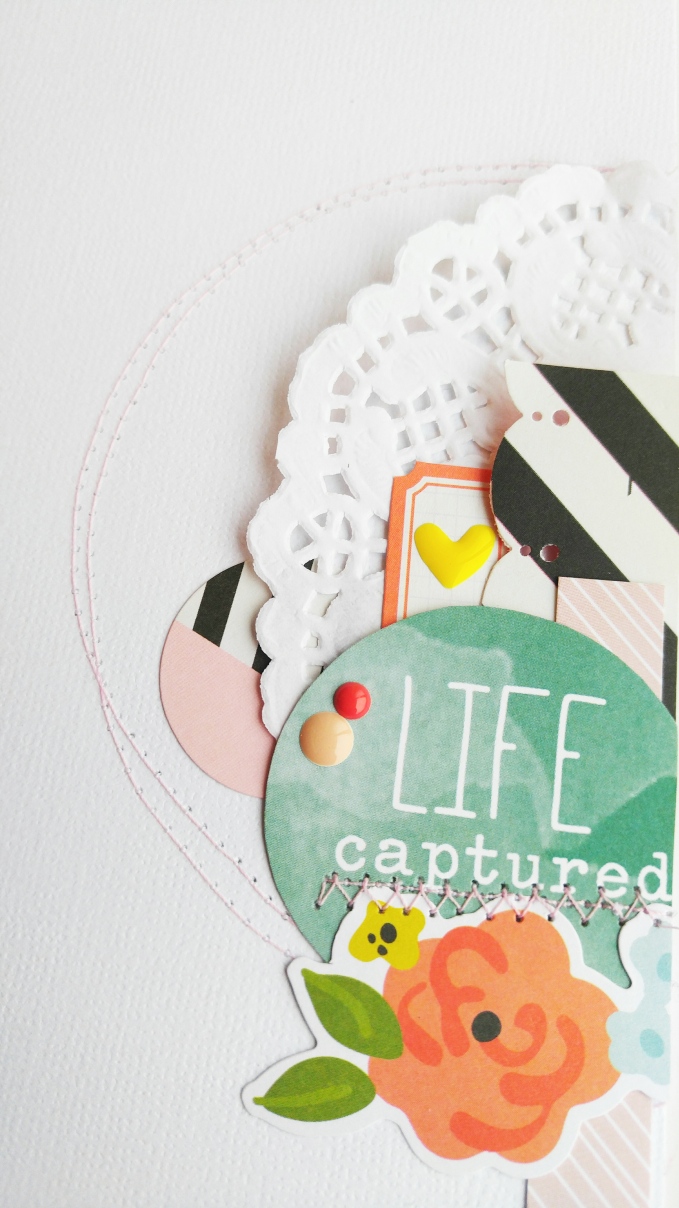
I grabbed one of the pages that with cut a parts on one side and cut them down and into strips to add as layers. I wanted this to be a part where I could create a little cluster with the title. I didn't make the title really bold here and did that on purpose. I didn't want to put something large on here and draw away from the photo.
IMG_20160330_154015
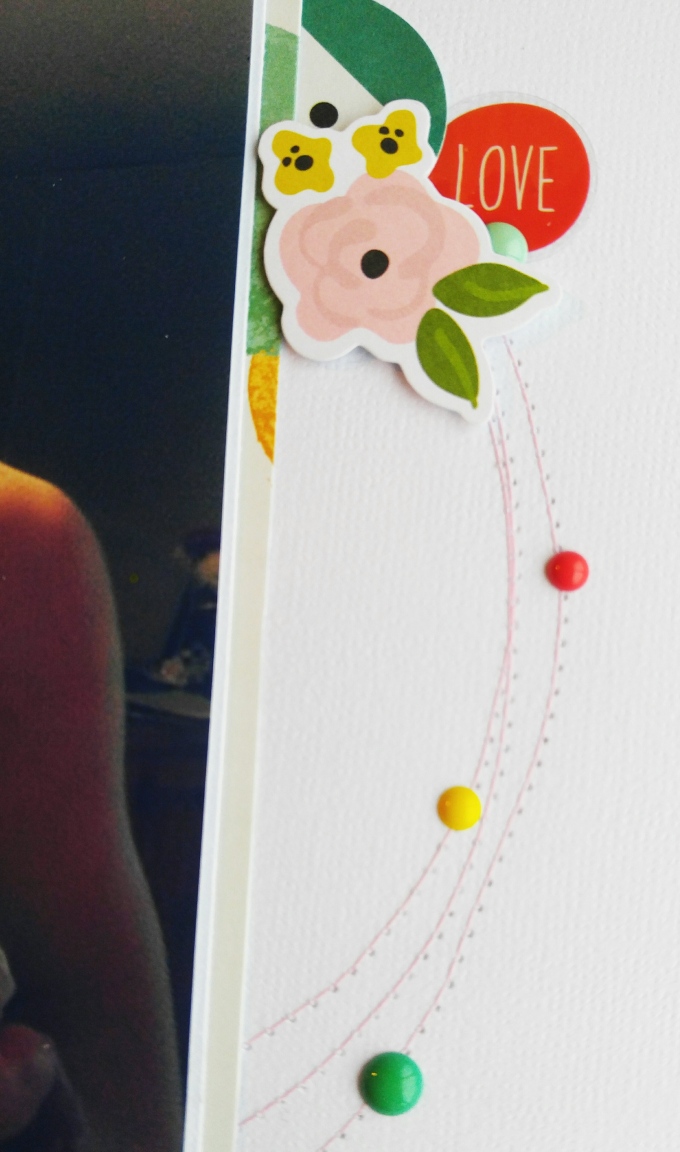
I decided that I didn't want the background to be all white, so I decided to add some circles in a light pink. After I did the sewing, I actually started to stick things down. And for me that usually means I add more then what I thought I was going to, lol. I didn't add to much but I did change up some of the embellishments that I was going to add because it made the layout a little to heavy for what I wanted.
IMG_20160330_154100
When I thought I was done, it still looked like it needed a little something. I grabbed that pretty diagonal stripped paper and cut a little off for the top and bottom and that did it for me. This layout came together pretty easy for me, I think my sewing machine was the hardest thing, it didn't want to co-operate with me! But I won in the end! lol
I am happy to be here and be part of the Clique!! :)CK_SarahKing-01