Thursday, January 24, 2019

Hello Captured Kisses-Pretty Little Studio DT

Hello Again!! Sarah here this morning playing with the Savannah Dreams Collection and playing with a fun picture of me on my youngest!
I started out with a sheet of white cardstock, I cut a few strips from its a new day and added it to the tops and bottom of the layout, I added it under the white cardstock, cut a little of it off and then ruffed up the edges. I'm really liking the distressed edges lately! I love the Happy Life paper, it looks a little distressed and has splatters already on the paper. So I grabbed that paper and added it to the top of the layout and ruffed it up a little too.
I moved on to adding a few layers behind my photo, then moved on to the left of my photo, where I was going to put my title. So I did some layers, mimicking the ones behind my photo. I knew what I wanted my title to be, so I pulled out the die cut word I wanted to use, along with the clear sticker and some alphas from my stash. Once I had the title where I wanted it I added a strip of vellum washi, a label and a die cut floral, then added my title on top.
I placed my photo and title down where I wanted them, then started tucking my labels, die cuts and popping up some of the cute little butterflies on some 3d foam. To finish everything I added some of the A Birdy told me stickers.


Pretty Little Studio Products: 

Sunday, January 20, 2019

Its a beautiful day / Pretty Little Studio DT

Good Morning everyone! Its been a while but I'm back and ready for my newest post for Pretty Little Studios and using there new collection, Savannah Dreams 
I do have to say that I love this collection, not only are there 12x12 papers but the colors!! Beautiful! I do have to say I'm looking forward to Bohemian Dreams too!! Make sure to head over to the site and check it out and pre-order it!! You wont be disappointed!!
Anyways, back to my layout lol.
I chose a picture of  two of my goofy girls on the trampoline this past summer, just having fun. I fell in love with the Inner Artist paper when I saw this collection, so I pulled it, knowing that I wanted it to be a larger feature on my layout. I started by cutting one six inch strip and putting it on the right hand side of my layout, but I wanted a little more of it and a place to tuck things under, so I cut another strip and layered it on top of the piece I had already taped down, then I distressed the edges a little and moved on to layering behind my picture.
I put a few layers behind the photo, pulled out the Label it die cuts and started to tuck them in, coming out from the left hand side of the photo. I have a huge love for the 6in doilies on the PLS site, so I added one to mat my photo and all its layers, plus its just so pretty!! lol
At this point, to me it was obvious that it was time to add some flowers and my title. So I pulled the die cut packs and started sorting threw all the pretties and set aside all the ones I wanted to use, this can become a problem with me though, lol, because I will end up wanting to try and get them all on one layout! lol But there so pretty so really is it a problem?lol
I added florals, tucked little messy thread nests here and there and then added a little floral embellishment cluster to the left hand side of the layout. I chose to do this because I had managed to put pretty much everything towards the right side of my layout. Adding the cluster to the left made it balance out a little for me.

Thanks for stopping by and checking out my layout and make sure to head over to the Pretty Little Studio shop and check out all the pretties there are to buy!!

 
Pretty Little Studio Products used:
Savannah Dreams Collection: Savannah Dreams 12x12 paper pack; Inner Artist, Once in a lifetime, Just let go, Its a new day, Exclusive 12x12 paper pack die cuts, Label it die cuts, Savannah Label cut aparts, Floral Fantasy die cuts, Happy mix washi vellum stickers, 6in Cambridge doilies


Thursday, January 10, 2019

Happy Birthday / Bella Blvd DT

This week over on the Bella Blvd blog its 
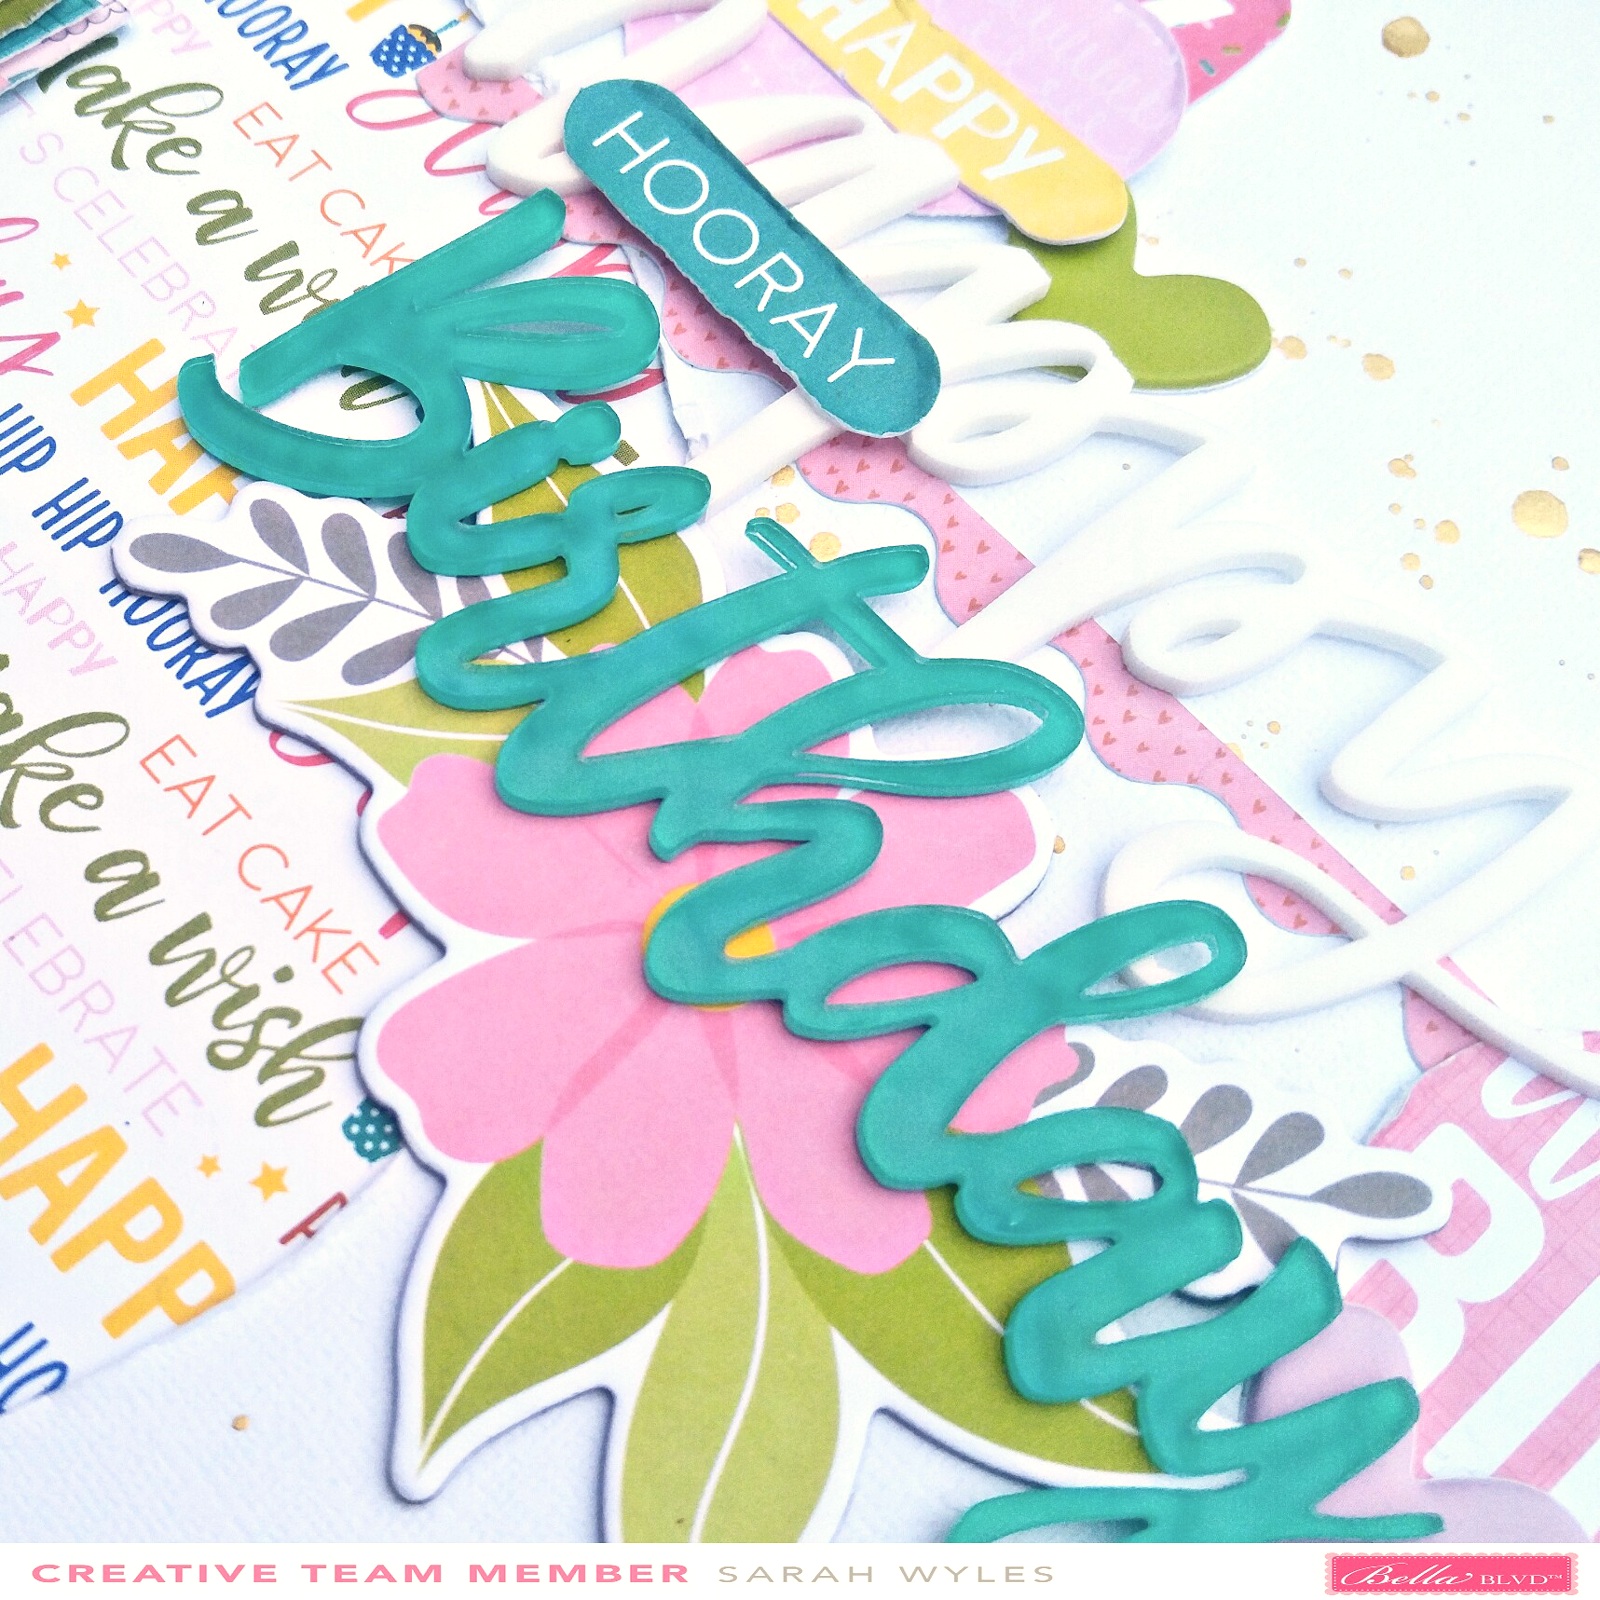
Birthday week, So today I'm here playing with the Wish Big collection and documenting my youngest daughters 2nd birthday!!
I am working with the girly Wish Big collection, and I just have to say that I love all the beautiful colors and patterns there are in this collection, and oh so many things that can be fussy cut!!

Honestly, starting this layout I had a pieces of white cardstock sitting on my desk that I had cut a circle out of before and just picked it up to set it to the side to go threw some of my Bella goodies and sat it on top of some of the items I had already pulled out and liked the way it looked. So I decided to use it for my background and build from there.
I knew I was making a birthday layout, and I loved the happy birthday paper that I had sat the cardstock on so I used it. I don't usually  start my layouts this way, but this one started that way lol. After I had paced those two pieces together, I started layering behind my photo. I do love to add layers!!

After layering a bunch of pretty papers behind my photo and getting it the way I wanted, I sat my photo where I thought I might want it and moved on to playing with embellishments. I pulled a few acrylic words out, One from this collection and then another from Bella. 
I laid the Happy Birthday up to the right of the photo, grabbed my ephemera packs and started pulling things I thought I might wanna use, knowing that a lot of them would make there way on to this layout.
As I went I tucked more little pieces here and there in my photo mats and around the title. Added chipboard pieces, along with paper ones.
I also used some of the stickers from the Sticky mix that goes along with this collection, snipped some and tucked them here and there.
I don't usually add things on top of my photos, but I seem to be doing it more and more recently, so I created a little embellishment cluster to go on the bottom left of my photo. I wanted to use two of the cute little chipboard candles, since she was turning two, and I loved the little Hip Hip Hooray paper piece, and the fact that doing this also allowed me to add a few more pops of color down there that I wanted. 
I thought I was done at this point but I felt like my layout was missing something so I sat it down, stood up and looked at it. To me, it needed a little color at the top, since my layout already had quite a bit at the top. So I went threw and cut a few strips of some of my favs and added them to the bottom. This also gave me another place to add another embellishment cluster! lol. I finished my layout off by adding some of the oh so cute puffy hearts and some gold splatters. 


Wish Big Collection: Boarders, Let's Celebrate, Cakes&Crowns, Party Animals, Daily Details, Ciao Chips, Ephemera Words, Sticky Mix Cardstock Stickers, Acrylic Word-Birthday
Acrylic Words-Happy&Smile, Puffy Heart Stickers; Cotton Candy Mix, Pickle Juice Mix


Tuesday, January 8, 2019

Thankful / Bella Blvd DT

Morning everyone! I'm a little late posting this one! lol
So with my layout, I chose pics of my kids from over the last year, just to show the different stages and things that they do. They aren't spacifac to anything, just little things they have done and the memories I have just looking at them. I'm thankful for all the little stages they go through and the memories they give me to cherish.

I pulled the pictures I decided to use and then grabbed a collection I wanted to use,Oh my Stars collection. I also grabbed a few things from the Alex collection and some of the Hears and hugs!! Love them by the way, the texture they add to the layouts, cards and any project you decided to make.

I haven't used a dark background in a while, I've also been watching some youtube videos with water colors and acrylics, so I decided I would play with the Illustrated Faith water colors on this one. I knew the papers I wanted to use were all on the bright/light side so I thought the background, being dark was going to be ok, to me it made it all pop from the center of the layout.
I mixed some of the paint and watered it down and started splattering it down the center of the layout. I thought I was only going to do the teal color, but once I saw how nice it was showing up on the black background I decided to add some yellow, white and a little bit of orange. I sat it aside to dry and started to work on my photo mat/layers.

I didn't want to add white mats to my photos cause I wanted to do a little close-line for them to hang from, so to have a good contrast between the background and my patterned papers, I added a white mat to my patterned paper.  I wanted to add a little more texture so I pulled out some of my old punches and punched a few places on my white mat and distressed the edges, and I did that to the rest of my papers too. I cut a large piece of patterned paper and added it to the center of my mat, cut another plain paper from one of the 6x8 paper pad and had that for the mat for my photos.

I started wrapping my embroidery thread around my mat and decided I wanted to add a little more color, so I cut a few strips of patterned paper and tucked them behind my blue photo mat. After I was happy with the colors and the way I had them tucked I put my embroidery thread back and added my photos on top and went to embellishing!!
I pulled out embellishments from Oh my stars, Alex and Hearts and hugs collections and started to pop and tuck things here and there. Like I said before, the hearts and hugs have such great texture, but little sayings on some of then and little rhinestones!And on top of that they have enamel dots to go with them!! So I grabbed some of those and popped them here and there where I had splattered the paint. After I added a few stickers, tabs, hearts and enamel dots, I decided to to pull out a few of the cute mini bows and add them to the close-line, more texture lol. 
I hope you enjoyed this layout and make sure to come back and check out all the other great projects the team makes!!

 Oh my Stars collection: Gulf Stars patterned paper, Boarders patterned paper, 6x8 paper pad, Tabbies, ephemera pack
Alex collection: Tabbies 
Hearts and hugs: Give thanks, Sunshine, Sentiments
Cute clips: Wild Berries, Pretty boy