Showing posts with label Paper Sweeties DT. Show all posts

Sunday, September 1, 2019

Paper Sweeties Plan Your Life Series - September 2019!

Good morning planner friends! 
I'm here this morning to share with you my September monthly planner spread using Paper Sweeties planner stamps and some bits and pieces from my stash.
I started out by stamping in the things I knew I had planned already this month. I added a reminder for bill paying, design team projects due, our fun pizza night and a few other things. My planner stamps for Paper Sweeties make it really easy every month.

I know I have a few doctors appointments to add in there that weren't scheduled when I made this, but are in there now, hoping to add some more updated with my weekly spreads through out the month, if things calm down, lol. Life is crazy, but I love it all!

Once I had everything I already new I had planned, stamped out I moved on to jotting a few things in and on to making things pretty.

I just got some new orange and white stripped washi and wanted to use it so I grabbed that and some bits and pieces left from a Bella Blvd collection I had and added some pretties. I didn't go to crazy adding things, because I knew there were going to be things that I had to add through the month.  I was happy with my start for September and will add more as I go. 
Make sure to head over to Paper Sweeties and check out the planner stamps and all the other pretty stamps that are in the shop!!
Make sure to pop over to the rest of the planner teams blogs and see what they are sharing in their planners this month too!

Debbie Marcinkiewicz – Paper Sweeties
Lilian Forsyth 


Friday, August 16, 2019

Paper Sweeties August 2019 New Release Rewind!

Good morning everyone!!
Today is the rewind and I wanted to share my week in my planner this month. 
I always change up my planer, I use to have to have it where the entire month was the same collection all the way through, but I realized I wasn't happy with that. What if I was using a collection that wasn't good for some occasion that we were celebrating, so I decided to use whatever I want on the week I'm working on, so that I'm happy with it. And I did that this week.
I used bits and pieces from a few different collections and manufactures and I was really happy with the way this turned out.
This week was one of my daughters birthdays, I know I've said that a bunch, but its a big thing in our family lol. We had a blast, more importantly, she had a blast!
I started with washi where I wanted it. I liked the bright color and then some polkadots in there. Love me some polkadots!
I stamped a little here and there, cut out a bunch of cute cupcakes and them moved to adding color to those. I love that you can chose the color of frosting and the cupcake holder, it adds more to the spread over all.
I added a few photos, and started to add more around them and build from there.
I added some chipboard pieces, cute little words, I love that I can use my stash for this! The colors all worked great together and then I continued to build more on my spread, adding more washi, cupcakes and word stickers. 
I finished my spread by adding a little envelope so that I could slide a card in with some little bits about the day, so that not only I would remember it but that she would have it to look at later in life. About the day she had with so much of her friends and family around.

Thanks for stopping by and seeing what I did today, make sure to check out the rest of the Paper Sweeties team and see what they did today as well!

Debbie Marcinkiewicz – Paper Sweeties
Amanda Bodine ---> August Guest Designer
Diane Hover
Karen Bull 
Karen Letchworth


Monday, July 15, 2019

Paper Sweeties July 2019 New release party

Good morning everyone,
 I'm back this morning to share another layout with you using the cute new stamps and sweet cuts by Paper Sweeties.
I started this layout by stamping those cute little fish on the background, I stamped quite a few but some got covered up when I started to add the papers and embellishments. 
I don't usually use colored photos but I have been lately. There have been a few layouts lately that I have used color pictures on them, I had found a bunch of old photos that I don't have copies of, so I'm using the original, and with these papers and stamps, it works great!
I had already stamped a bunch of little fishys, added a white mat around my photo and popped it up on 3D foam, so I started on my background. 
I decided I wanted my picture towards the top and on the left because of the way he was looking. So I cut some paper strips and grabbed a few boarder stickers and layered them on the left side, ruffled the edges up and placed them down.

Once I had the paper strips down, I stuck my photo down on top of them and started water coloring the cute stamps in. This way they match the papers I'm working with too. I have to say that's one of the major things I love about using stamps!!
 I added the title to the right of the photo, a mix of chipboard letters and some stickers, then I tucked that cute little treasure chest under the title to the right and a little pirate star down at the bottom of the title and under the photo. I added some cute little stripped and dotted hearts here and there.
Then I bounced to the bottom left corner and started adding embellishments there. I knew I wanted that tag, I tucked a hears and that cute scalloped circle behind it. I stamped sun kissed nose to the tag and along the paper strips. I knew that cute little pirate starfish would add a pop of yellow to the bottom of the layout, so I popped that cute little guy up on some foam adhesive. To finish off the layout I decided to add some stamped bubbles and then some teal and blue splatters. 
I love what these stamps added to the layout, the cutness and whimsy, were just perfect!!


Make sure you go check out the rest of the ladies projects too!! 


Saturday, June 22, 2019

Paper Sweeties June 2019 New Release Party!

Good morning!! Back with some more from Paper Sweeties!!
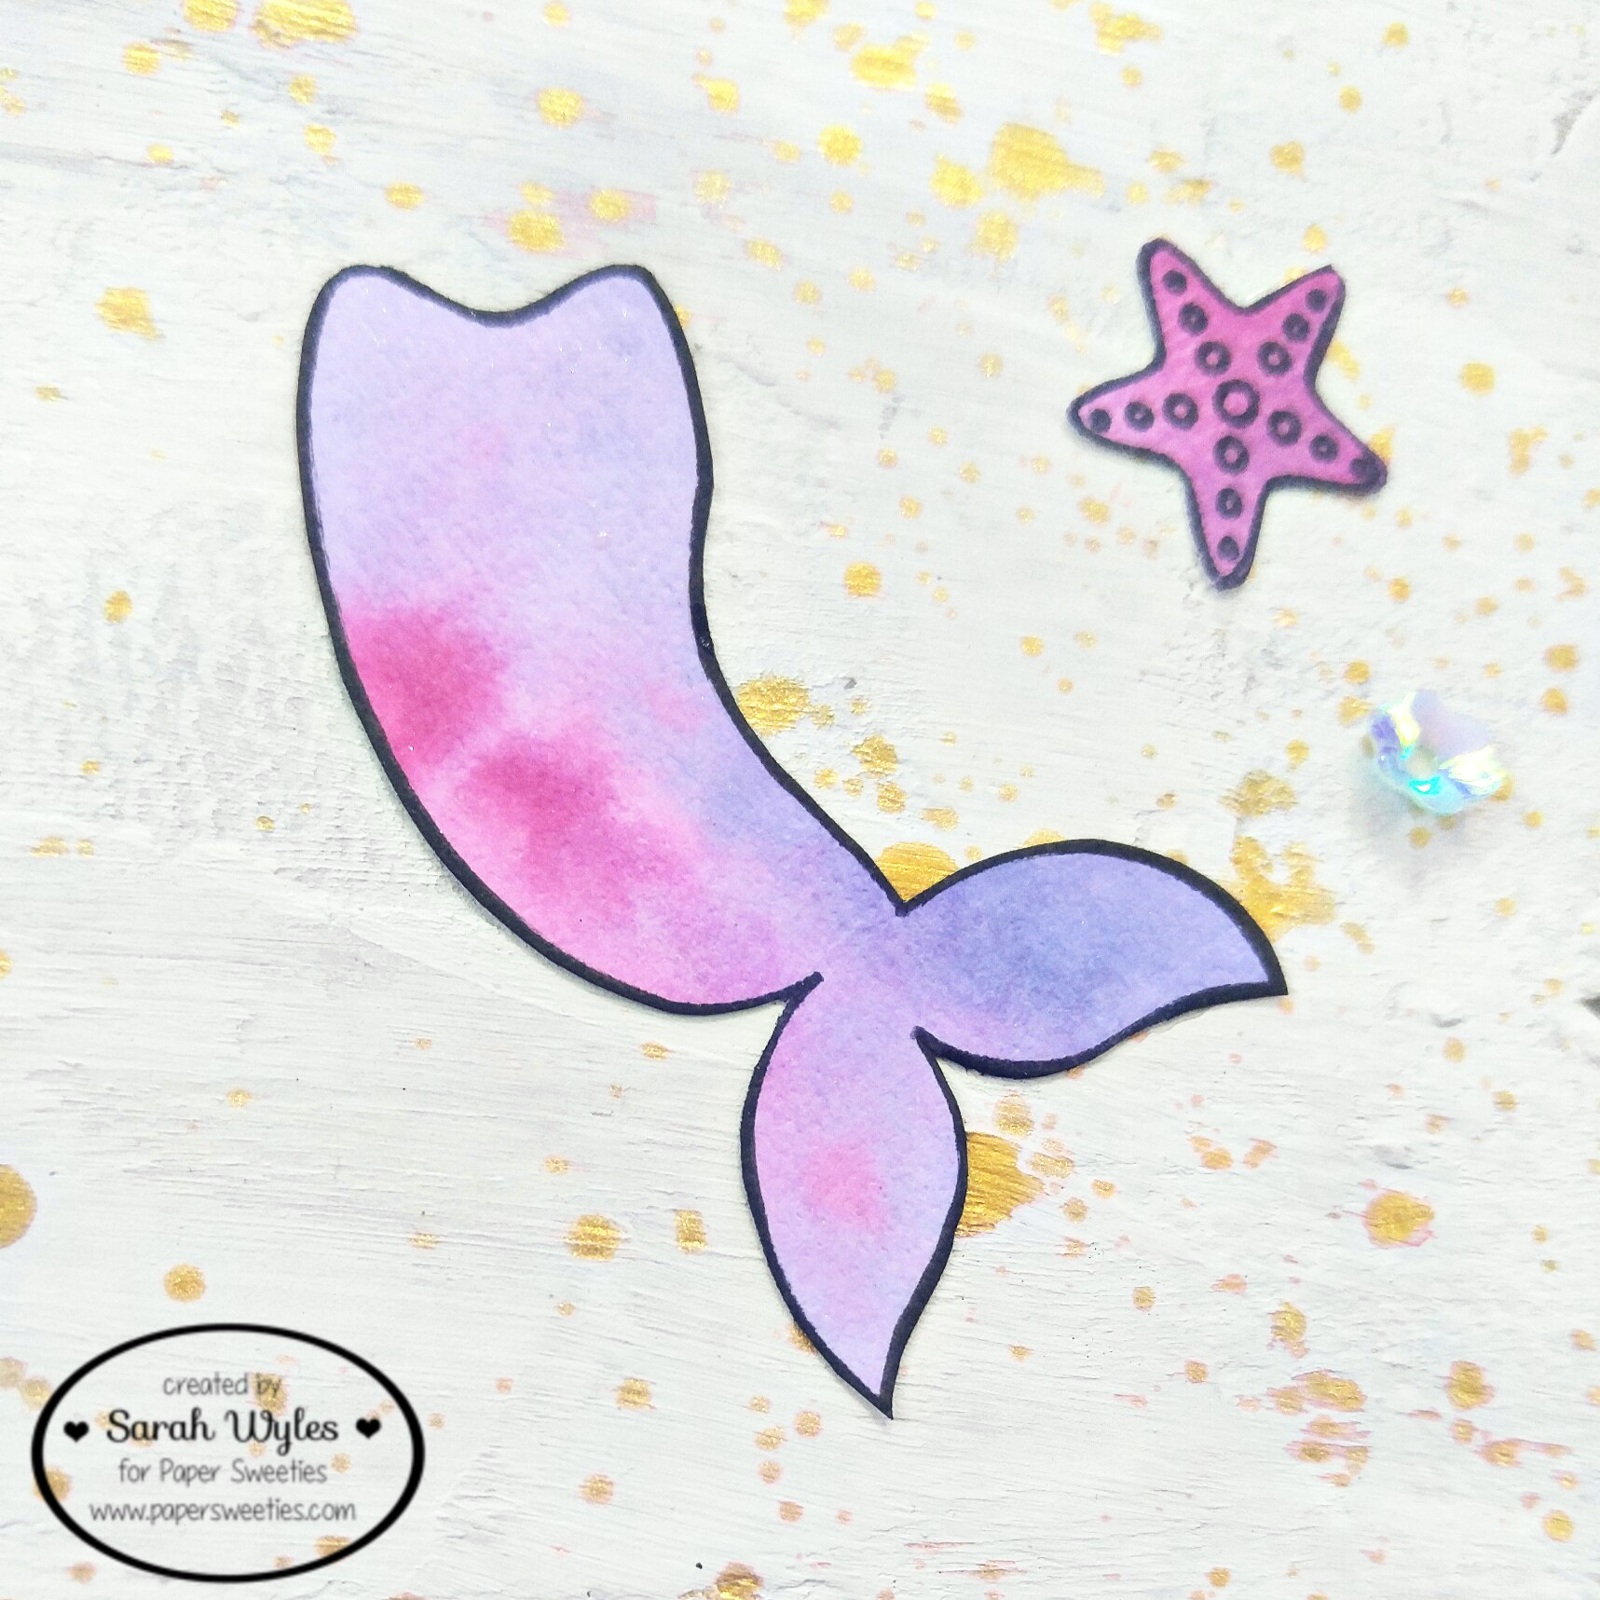
Today I'm sharing a door hanging that I made for my girls room. They are obsessed with mermaids and these stamps were perfect for it!!
I pulled a sheet of chipboard out of my stash, along with some paint, texture paste, Hiedi Swapp gold color shine and some paper I had water colored, along with the Mermaid wishes stamp set.
I added the texture paste to the chipboard, then painted it with my white acrylic paint. I set it aside and let it dry. Then moved on to stamping these cute little mermaid tails and starfish on some paper I water colored the night before.
I stamped them and then cut them out. I splattered the gold color shine across the whole sheet and then started to add my saying with the gold thickers, Be a mermaid and make waves.

I pulled out the pretty blue sequins and added them around the door hanging too. Punched two holes in the top, added my twine and was done.

Thanks for coming by again and checking out what I made. I hope you go and see what else there is new in the Paper Sweeties shop!! And make sure to check the rest of the teams stuff out too!!


Thursday, June 20, 2019

Paper Sweeties June 2019 New Release Sneak Peeks!

Good morning Paper Sweetie friends!! I am a bit late on posting, internet issues. But I'm back! Being without internet for over a week was not fun. 
Anyways....on to the fun stuff.
Today I'm sharing a fun layout that I made using some of the new releases, and oh man are they so adorable!
https://papersweeties.com/product/sea-you-soon/

https://papersweeties.com/product/sea-you-soon/
These are the ones I used, there adorable right??
I started with the stamps themselves, pulled a collection from my stash and started stamping away. I already knew what photo I was going to use, so I went to gettin it.
 I stamped all the pretties and cut them out, I did use the new Mermaid wishes set for the cute little sea weed too.
 I cut strips or different sizes from a few different papers and layered them the entire length of my 12x12 layout and left them so that things could be tucked under.
I added a few layers under my photo and decided where I wanted it to set on my layout and then went to adding my little sea creatures here and there.

Once I popped some of the little creatures up and glued the rest down, I started to add stickers in here and there. Tucking pieces around and adding my title. On this layout there really isn't a title per say, just a bunch of sayings that went with the day and picture. 
These stamps and dies are awesome, and I hope you saw everything that the rest of the team made and went and got you your own set of them as well.
Thanks for stopping by and seeing what I made and make sure to check out the Paper Sweeties store and pick up some of the cute sets


Thursday, May 16, 2019

Paper Sweeties May release rewind

Today is the 3rd day of the new release at Paper Ssweeties and the last one till next months release, So I thought I would pop on and share another layout I made using some of beautiful new stamps and cute cuts.
 When I started this layout I knew what picture I was going to use, so I grabbed some Jane Davenport mermaid markers and started to mix and play with colors until I got the purple that I wanted and added splatters of pink in with it as well.
I made sure to do the mixing and playing with the colors on a few different pieces of paper so that I could use some of it for stamping on and cutting out. After I got the background the purple I wanted I started adding layers behind my photo. I knew there wasn't a lot of pink in the colors on the background so I added more pinks behind the photo.
I stamped with the Thinking of you stamps, I used those beautiful flowers. I stamped them on white cardstock and on some of the paper I played with the mixed media on, then used the Sweet cuts and cut them out and layered them in with the papers behind the photo.
I loved the way the flowers looked, you can do so much with them, they are amazing for layering and stand alone. I hope you head over to the shop and check out the new,(and old) selections of stamps and sweet cuts!! And make sure to check out the rest of the design team too!!