Good morning everyone!!
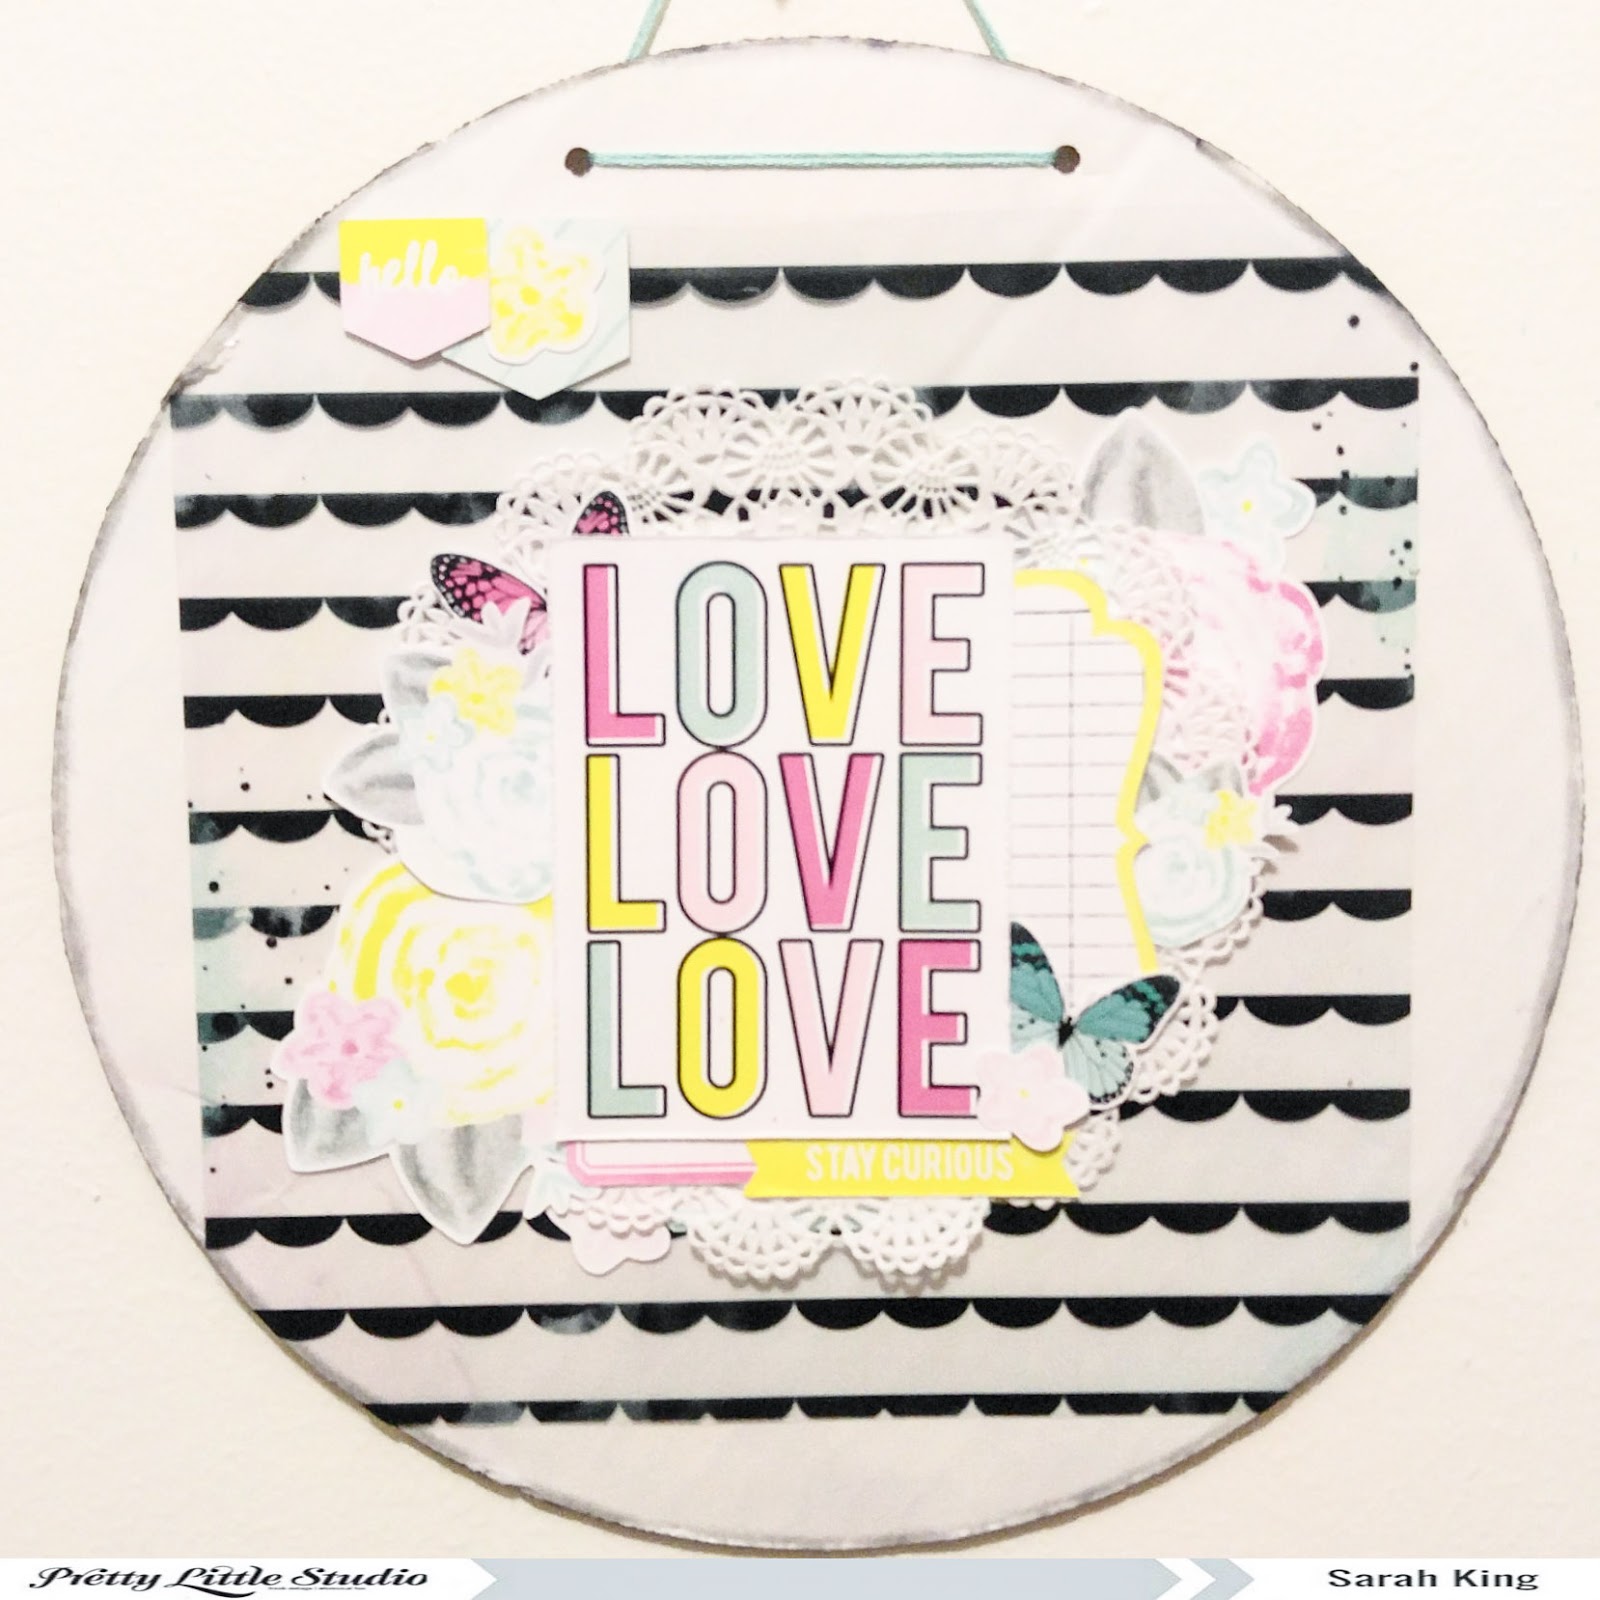
Sarah here this morning to share a little wall decor I made thinking of my mom. And on the plus side, I got to dig into the new Mom Life collection! I was so excited to get this collection and I have to say I love all the new collection, they were even more beautiful in person!
I had recently been unpacking and organizing another box of my scrappy stash and found a canvas heart frame. It was actually supposed to be used as a little bulletin board, but I thought it would be great for a little home decor.
I knew I wanted to break into Mom Life, so I chose a picture and dove into the collection. In the ephemera pack there were already beautiful floral die cuts, but I wanted more. So I pulled out the My Tribe paper and started to fussy cut some of the flowers out. Its so hard to chose just a few to use, I had to remind my self that all of them didnt have to be used on this one project, even though I really wanted to play with them all!!

I decided that I wanted my photo backed with some more of the pretty papers, with the canvas background I thought it needed some more color to separate my photo from the background.So I pulled out some more of the My Tribe paper, Daily details and started to cut and add layers. Once I was happy with the layers and the way they looked I popped it up on foam adhesive and added it to the middle of the heart.

At this point I wanted to start tucking the ephemera pieces and the fussy cut flowers in the layers and behind my photo. I popped some of them up on foam adhesive, bent a few of them up, but just like a lot of my layouts I worked on a diagonal, I started from the bottom right, worked some of the pieces around the right side of the photo cluster and then moved to the upper left corner.


After I tucked the pretty flowers here and there on the diagonal, I went back in to my Bella goodies and pulled some more pieces that work perfectly with this collection. I love the little pom poms and the epoxy stickers, so since they matched I started to add those in too. The little Pom poms added some more texture to my project and then the hexies mini epoxy stickers added some shine popping out around the heart. I did add a few cute clips, well the little bows, there cute and girly and love to use them, so I pulled them off there clips and added them. I wanted something that would act like a title and I had a bunch of the acrylic words and Smile just stood out to me. We were all so happy in this picture, smiling and enjoying our selves, so Smile was perfect. I added that to the right of the photo and that finished off my wall decor. I had no clue where I was going with this when I started but I am so happy with the way it turned out!

Mom Life Collection: Daily Details, My Tribe, Ephemera pack, Acrylic words; Baby Girl-Cute Clips, Illustrated Faith Pom Pom clips;Bananas for you, Apple of my eye, Basics-Hexies epoxy stickers-Bananas for you, Oh my Heavens