Showing posts with label Heidi Swapp color shine. Show all posts

Saturday, May 20, 2017

Zonked / SpiegelMomScraps DT / Sketch it out Saturday

Good morning everyone! Sarah here this morning to share with you another layout I made with some amazing sequins, felties and a bit of washi.
I picked another of the thousands of sketches I have pinned on Pinterest and played with it and I will share it with you, and I hope you'll play along with me! The layout comes from https://denimtamponsblog.wordpress.com

I had this picture of one of my daughters, she was crashed out on the couch and I thought it was cute so I grabbed it to scrap. My background paper was from We R Memory keepers. I'm still experimenting with mixed media and I loved how this paper had the look of some water color on it already that I didnt have to do. But the sketch still had a messy circle behind everything, so I grabbed my Heidi Swapp Color Shine in Tinsel and did the packaging technique.


I pulled out my With all my heart collection from Pretty little studio and a frame from Simple stories and started playing. The sketch had a tag looking thing behind the photo, so I grabbed a tag from the collection I pulled, the tag wasn't long enough for the photo so I layered a few other papers behind until I got it just how I wanted it.


I didn't adhere anything down to the background at this point because I wanted to do a little stitching where it showed the film strip. I loaded my sewing machine with black thread and did my little stitching and was ready to start taping down my stuff. I started with my frame, then used some 3D foam adhesive to pop up my photo on a tag and adhered that down too.


The sketch had a little red strip at the bottom of the photo, I thought about using washi tape or a strip of paper, but decided I wanted a little more color. So I grabbed some of the labels from the Pretty little Studio collection and layered those under the photo. At this point I couldn't find my white feltie clouds and was kinda freaking out, but as you see I found them!
Where it showed stars and other embellishments on the sketch I decided to used my pretty clouds. I layered a few on the frame and bottom right of the photo, then moved up to the tops right side of the frame. When I added the clouds around the frame I decided to add some washi tape as well. Then went back to adding fluffy clouds to my layout, those tiny little ones are just so cute! I added a big thread nest to the top left of the photo like on the sketch and  I just love using thread on my layouts!
Then came some more fun!! I grabbed several packages of sequins, Gotta love emojisHolly BerriesPurple Rain and Magical Ocean and started to mix and match them and put them all over my layout! Magical Ocean had different sized stars that went perfect with this layout! I added a few work stickers and that was it for this layout!
Thanks so much for checking out what I made today and hope you come back and see what else we have for you to be inspired by!


Friday, March 3, 2017

The cats me-wow / Pretty Little Studio DT

Good morning everyone! Happy Fri-yay!! I'm so happy its the starting of the weekend! We have plans this weekend and I'm hoping for lots of fun. Do y'all have any plans?? 
Well I am here this morning to share with you a layout I made using the With all my heart collection from Pretty little Studio.


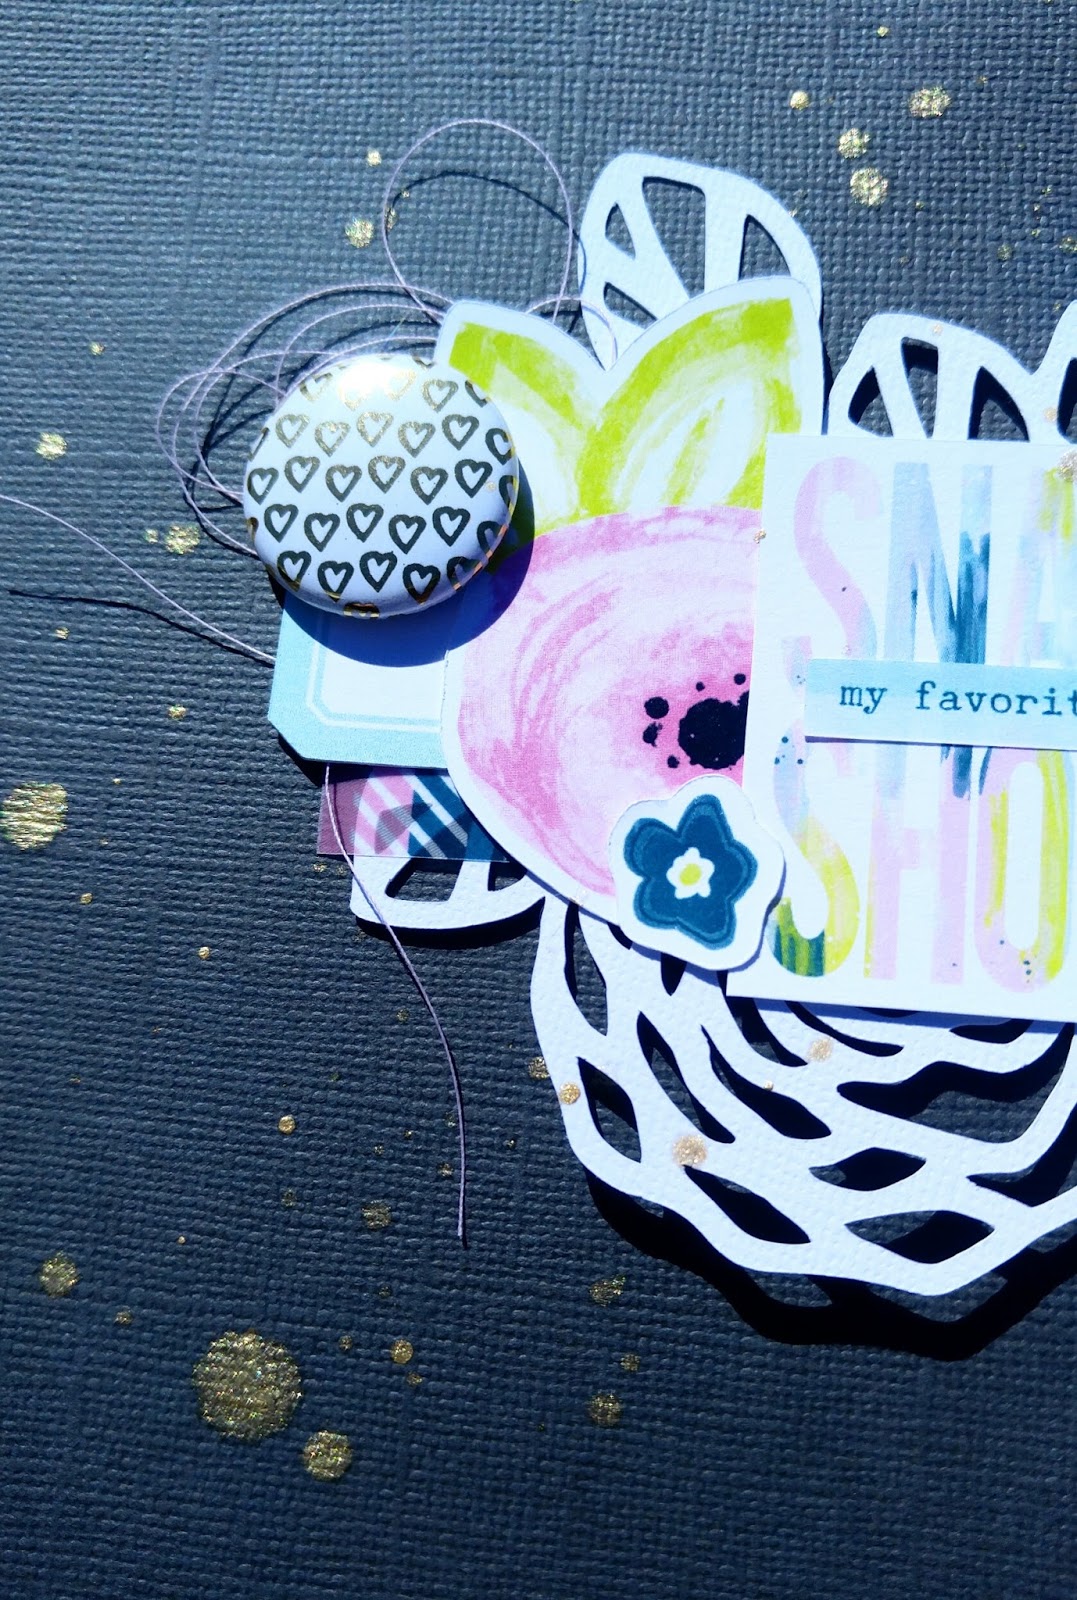
I started out a little different with this layout, I chose a dark background and I don't really ever do that! Lol I usually go with a white background, but this was a nice change. I actually have a few more layouts in progress with dark backgrounds too. I'm definitely having fun with it!

Then I broke out a few of my embellishment packs, tags, frames and die-cuts. 
I have had such a hard time not using all of those beautiful flower die-cuts on one layout!! There are so many in a pack and they are all so pretty!
Anyways, I started layering behind my photo strip, added in a cut-file and decided I wanted something more on the layout, So I started a cluster with some of the same type of items up on the right hand side. I pulled out 2 of the flair packs that I have, another thing that is hard for me not to use all at once! lol So I widdled it down and only used 3.lol 


I added a some little thread nests behind my flairs and then went to add the title. I got a few different alphas from this collection so I thought I'd use at least 2 of them for my title. 
I wanted to play with the title and make it a bit goofy since the photos were too, So I went with, The cats Me-WOW lol. I love my kids, they have so much fun with snapchat. My sister actually introduced them to it and they haven't stopped playing with it since!
Finishing my layout off, I used my Heidi Swapp color shine in gold, sprinkled it around the page and that was it for this layout.
I have included a few more up close pictures for you to take a look at.


Thanks so much for stopping by and checking my layout out. Make sure to head over to the Pretty Little Studio shop and grab this collection while you can and check out  Blooming Hearts. Oh and make sure to keep checking back because there will be even more new collection added soon!!

Thanks so much and have a great weekend!!!


Friday, January 6, 2017

Merry Christmas/ Pretty Little Studio 12x12 layout

Hello everyone!! I hope you all had a very Merry Christmas and a Happy New Years!
Today I'm sharing a layout that I scrapped of my kiddos standing in front of the Christmas tree this year. I don't typically scrap the year I'm in when it comes to Christmas, but I like this goofy picture of my littles in front of the tree.
Today I'm using the Tinsel Town collection, featuring stickers. 


I love the pop stickers can give to a layout. It doesn't always have to be a big pop, but its sometimes just enough to pull your eye to the picture.


This layout didn't even start with me matting the picture, to be honest I printed it with one, lol. But I started with laying the larger piece of the red and white Christmas words. Then I put the picture to the right and started layering little bits here and there under the larger piece and under the picture.


I layered my little cluster together on the left side for a bit of balance on my layout and put the wood veneer Merry Christmas title on top and decided that I wanted more on my layout. So I grabbed those cute little (and big) hearts and started adding them above and below my photo and even popped a few up in my little cluster to the left. I thought that brought your eye to the photo more and I loved the way it turned out. To finish it all off I added a little bit of Heidi Swapp color shine.

Pretty Little Studio Products used:


Thursday, October 27, 2016

Hello / 12x12 layout

Good morning everyone!! 

This is my newest little one here. Shes cuddling with my hubby, pre-hair cut lol, and I thought it was sweet that she just kept staring up at him. So I wanted to capture that. She would just sit there and stare at him, still dose now that shes a few months old, but now she jabbers more and simles, LOVE that!! lol.


Well I used my September Hip kit to make this layout. I had made it when I was still on the design team, but never shared it. I was in my craft room cleaning up and found it, so I thought Id share it. I love the nice soft colors that are mixed in with the new Maggie Holmes Gather collection, but I also like the yellow and blues! 
Here are a few close ups for you to check out!


Wednesday, October 26, 2016

My loot Crate baby/ 12x12 scrapping my stash

Hey everyone! I am out running around today but I wanted to share a layout I created playing with stuff that's been in my stash for a few years.

Me and my hubby are our own kind of nerds lol and proud of it! Well he started getting his loot crates last year and loves them!! They always come with cool shirts, sometimes socks, collectabl toys and all kinds of stuff. It made him really happy when this showed up on our door step, I guess it's his equivalent to me getting my scrappy mail lol so I decided I wanted to document it.


I had fun playing with the cut files and mix of patterned papers. Ashley Horton created this cut file for Hip Kit Club for the month of August2016. And this was another layout that I created playing along with some of the prompts from a Victoria Marie online crop.


I really did like the fact that I dove into my stash with this one and used old Crate paper, old I believe American crafts paper, some Basic Grey and Pink Paislee Memorandum. I really did have fun. I definitely say you need to join the Victoria Marie facebook group, everyone is amazing there, lots of crafty talk, fun and goofyness and just plain fun!!

Well thanks for stopping by, I hope you come back to see more!


Sunday, September 11, 2016

XOXO / Pretty Little Studio DT

Morning everyone!!
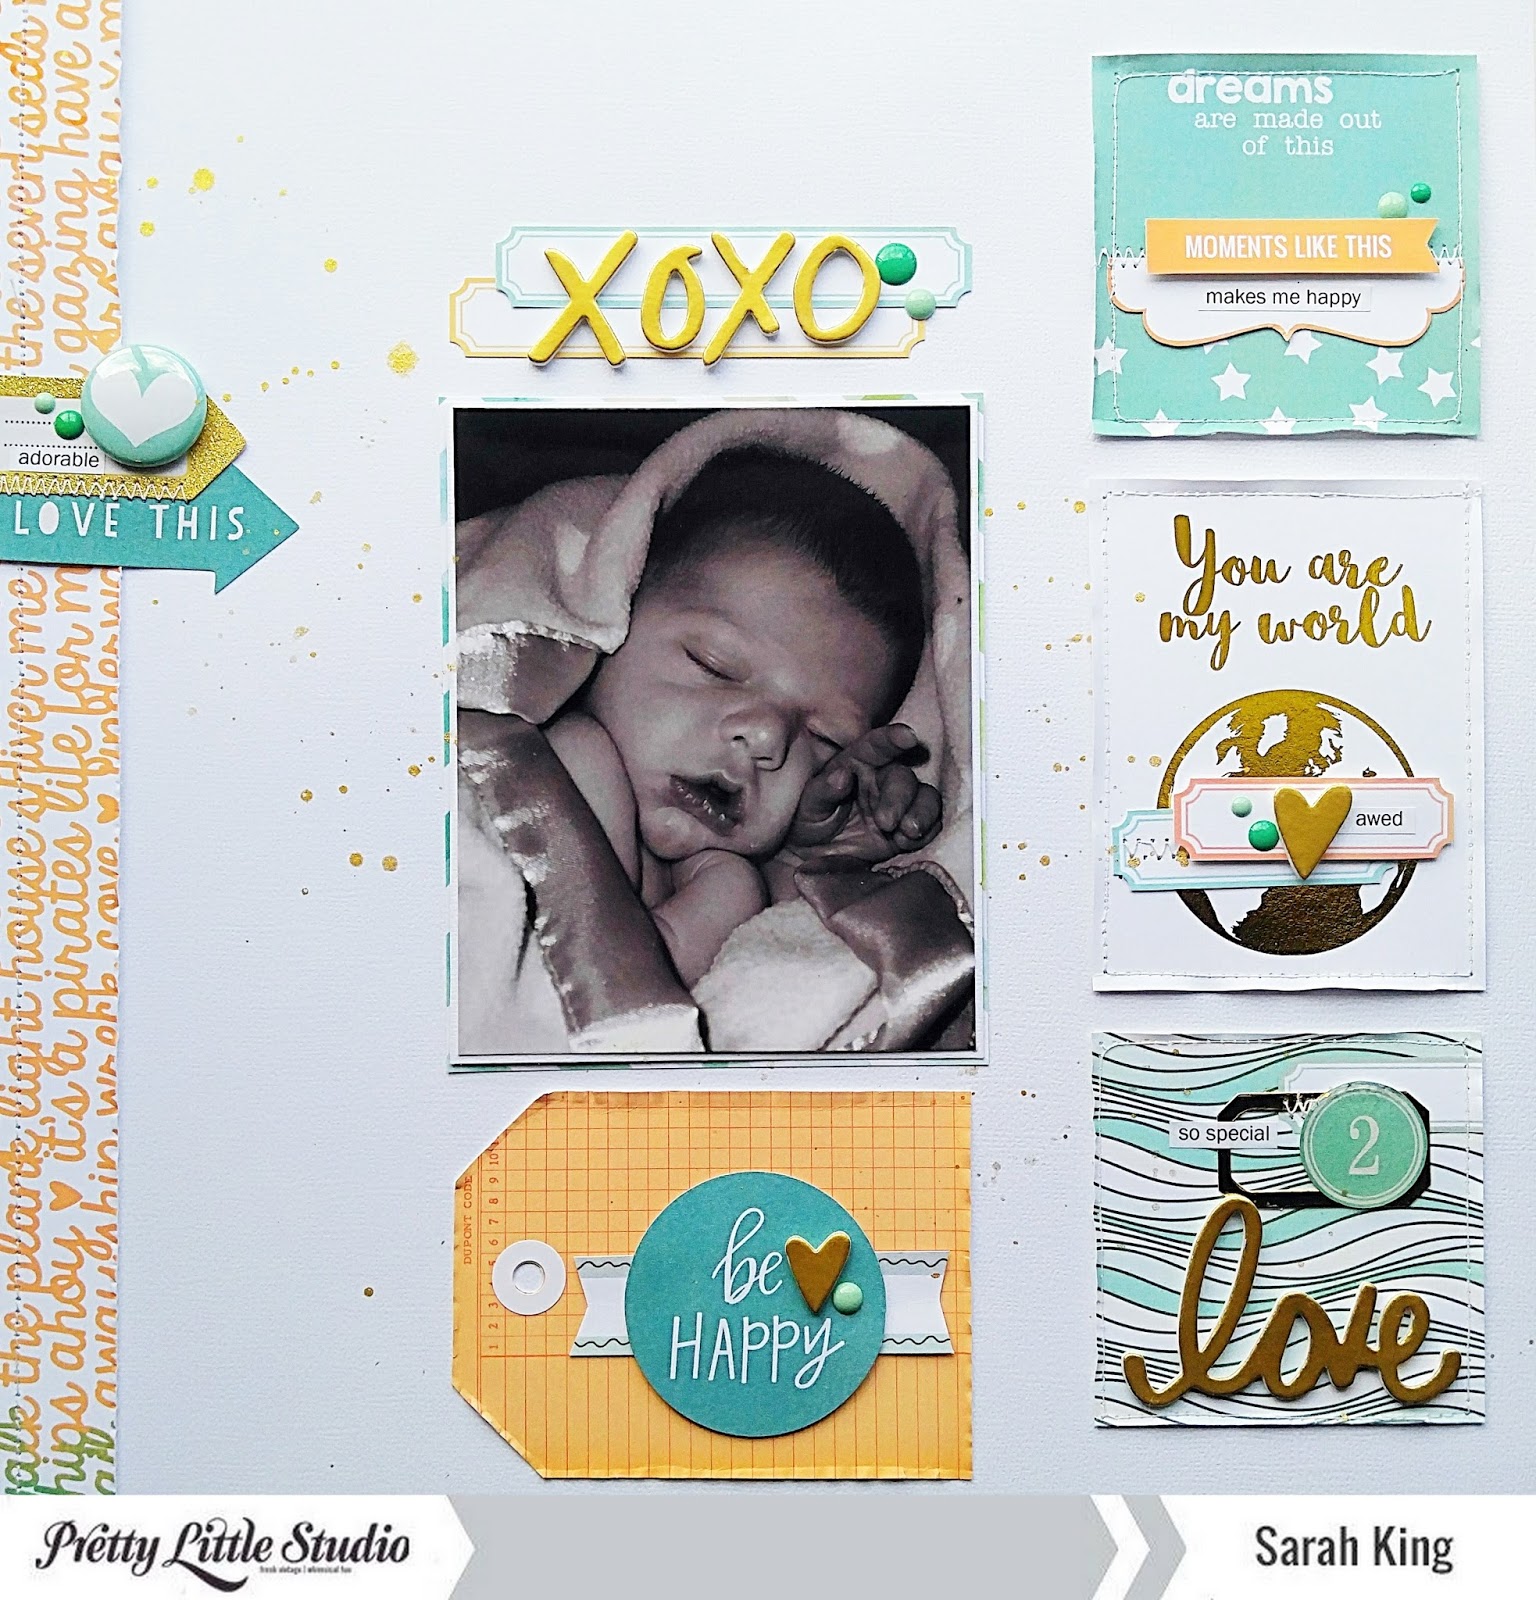
 Sarah here to share a layout with you of my youngest boy. Now hes not little anymore but I love this picture of him sleeping and so small, they grow to fast!!


I made this layout with a combination of the Treasure Island collection and the Let's go travel collection.
 With this layout I was wanting to have a little bit of an odd grid pattern to this layout and I wanted it on the right side. So I centered my picture and then centered the, you are my world card with my picture and then started adding from there. I cut a few squares and sewed them to the page like I did the others and embellished them, I added a tag below the picture and then the title above the picture with bits of layering here and there and other small embellishments,
The left side of the page was completely bare so I sewed a strip of paper to that side and added a few little tags there and a lovely little flair badge. To finish it all I sprinkled a little of my Gold Heidi shine to my page.

I love the look of sewing on the papers, I love the dimension it gives! I did add little word stickers here and there on the layout, that you can see above, along with some 3D adhesive too for more dimension.

Pretty Little Studio products used:
Let's Go Travel collection: Journaling Panama 3x4 cards
You & Me Love story: Flair Heart you buttons